

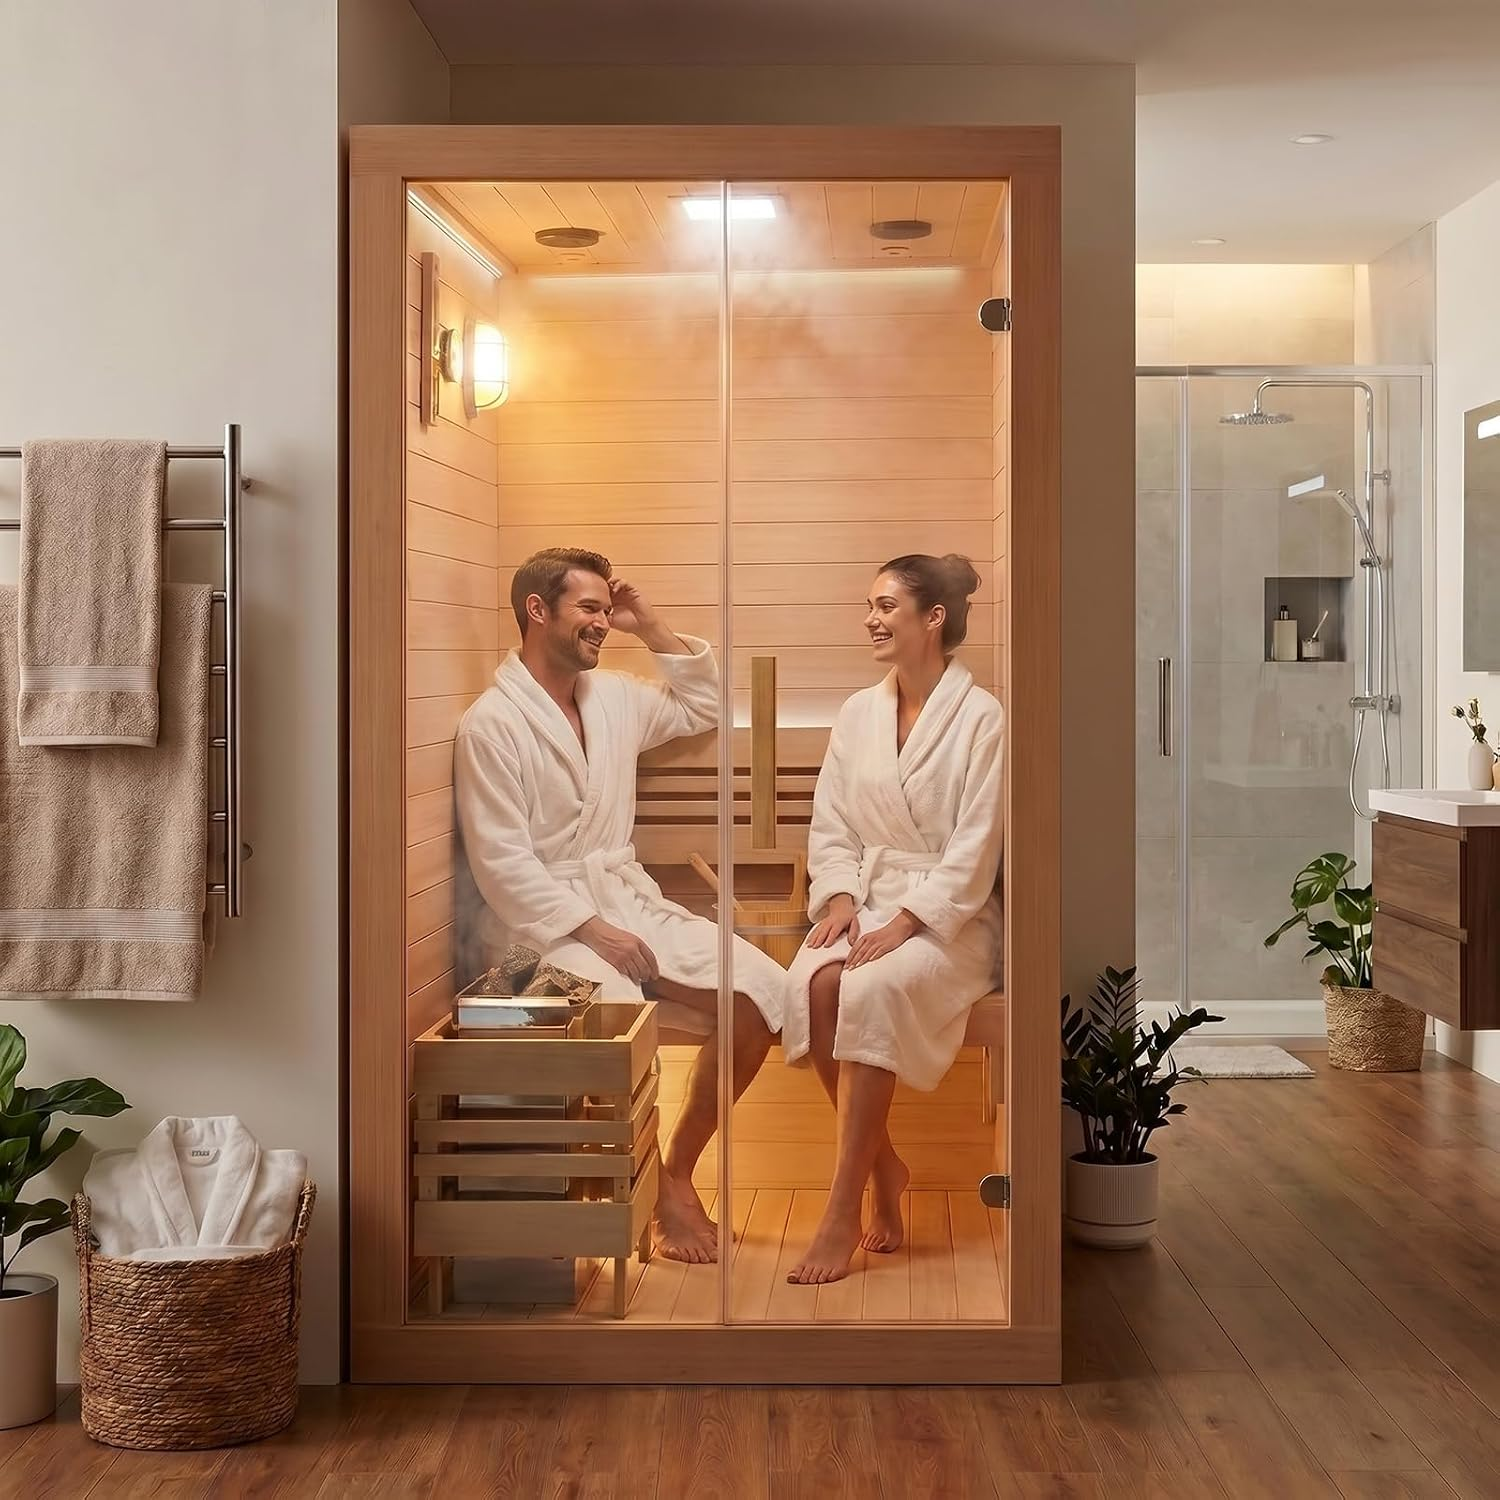
Wondering where to put a sauna in your house? Start with a room that meets the exact model’s installation requirements and provides practical access for delivery, assembly, and everyday use. A home gym, spare room, basement, garage, or bathroom may be worth considering, but the room name alone does not tell you whether it is suitable.
The best location for a home sauna is the one where the cabin fits, the supporting surface is suitable, electrical requirements can be met, and the surrounding environment stays within the manufacturer’s limits. This guide helps you compare rooms before buying an indoor sauna.
Where to Put a Sauna in Your House: A Step-by-Step Site Check
Use this checklist before committing to a room or ordering your indoor sauna. Prepare a tape measure, removable floor tape, a phone camera, and a notebook. Record measurements in one unit throughout. Mark each step Ready, Action needed, or Awaiting confirmation. An unknown requirement is not a pass.
Step 1: Collect the Documents for Your Exact Model
Ask the supplier for the current external dimension drawing, assembly manual, packing list, and electrical specifications. Confirm the model name and document version match the sauna you intend to order.
- Record external width, depth, height, and door-opening direction.
- Record required assembly, ventilation, and maintenance access on each side and above the cabin.
- Request package dimensions and weights, the largest individual component dimensions, and the recommended number of helpers.
- Ask for the installed weight, supporting-surface requirements, and permitted room conditions.
Ready when: you have the model-specific information needed for the following checks. If clearances or instructions are missing, ask the supplier to clarify them in writing rather than choosing a generic gap.
Step 2: Mark Out the Cabin and Working Space
- Measure the usable room width, depth, and ceiling height. Note skirting boards, sloping ceilings, pipes, radiators, sockets, and other projections.
- Use removable tape to mark the external cabin footprint on the floor. Do not use interior seating dimensions.
- Mark the required clearances and the full door-opening area separately. Include temporary assembly access specified in the manual.
- Check the height needed during assembly, including any overhead movement of panels.
- Walk around the taped layout and open nearby doors and cupboards. Check that normal routes and exits stay usable.
Record: a top-down sketch with measurements and photos from two sides. Ready when: the finished cabin and the assembly process both fit the documented requirements. Otherwise, try another orientation or room and repeat the check.
Step 3: Check the Entire Delivery Route
- Start at the agreed delivery point and walk the route to the room.
- Measure the clear opening of each doorway with the door open, plus hallway widths, stair widths, headroom, landings, and tight turns. If using a lift, record its door and cabin dimensions and ask the building manager about carrying limits.
- Compare the route with the actual cartons and largest components. Door width alone does not establish whether a long panel can turn through a corner.
- Send route measurements and photos of tight points to the delivery or assembly provider. Ask them to confirm the handling plan, required helpers, and where unpacking is permitted.
Ready when: the responsible provider has resolved uncertain turns, stairs, and lifting arrangements. If access is unresolved, arrange a site assessment or choose another location before scheduling delivery.
Step 4: Confirm Floor and Surface Suitability
Record the floor type, condition, and proposed cabin position. Check for visible damage, movement, unevenness, or moisture, and compare the surface with the installation manual. Do not assume that carpet, gym mats, or any other existing covering is acceptable.
Ask the supplier what is included in the stated weight. The assessment should account for the cabin, heater, stones or accessories where applicable, and intended users without counting included components twice. If support is uncertain, particularly on a suspended or upper floor, give these details and the location sketch to an appropriately qualified building professional.
Ready when: surface requirements are met and any load concerns have been resolved. A visual inspection or dividing weight by floor area does not confirm structural capacity.
Step 5: Check the Room Environment
- Look for leaks, damp patches, recurring condensation, and exposure to splashes or weather. Note when these occur.
- Compare the room conditions with the manufacturer’s temperature, moisture, and ventilation requirements. A single reading may not represent a garage or basement across seasons.
- Identify existing ventilation openings and confirm the proposed cabin will not obstruct them or its own required vents.
- If the room needs moisture or ventilation work, obtain a plan from the relevant installer or building professional and resolve it before installation.
Ready when: the proposed location meets the documented environmental requirements. For bathrooms or partially exposed garages, obtain model-specific placement confirmation; a product photograph is not approval for your layout.
Step 6: Arrange an Electrical Check
Send a qualified electrician the exact model’s electrical documentation, your destination, and photos or a sketch of the proposed location. Ask them to confirm supply compatibility, connection requirements, any necessary protective measures under local requirements, and the scope and cost of work. Electrical inspection and connection work belong with the electrician.
Record: the written assessment or quote and any work that must be completed before commissioning. Ready when: compatibility and required work are confirmed and the completion plan is agreed. Do not treat an existing socket or the heater’s wattage as proof that the supply is suitable.
Step 7: Confirm Daily Access and Delivery-Day Responsibilities
Revisit the taped layout with the people who will use the room. Check cabin-door access, nearby furniture, normal walkways, and future service access. Identify a suitable unpacking area and agree who handles indoor carrying, assembly, inspection, and packaging removal.
Ready when: the location works for everyday use and each delivery-day task has a named person or provider. Record unresolved costs before comparing the final budget.
Copy This Site-Check Record
- Model / document version: ______
- Proposed room / floor level: ______
- Usable room width × depth × height: ______
- External cabin width × depth × height: ______
- Required side, rear, overhead, door, and assembly access: ______
- Largest carton / component and tightest route points: ______
- Floor and supporting-surface confirmation: ______
- Room conditions and ventilation confirmation: ______
- Electrical assessment / work required: ______
- Delivery and assembly provider: ______
- Outstanding action / person responsible / completion date: ______
Final decision: select the room when all checks are Ready and the required preparatory work has an agreed plan. Recheck completed work before installation and use. If any item is Action needed or Awaiting confirmation, resolve it or compare another room.
To discuss a Majusaccessory model, send us your model choice, room sketch, and delivery-route measurements. Avoid including personal details or people in room photographs.
Compare Five Places to Put a Sauna at Home
1. A Spare Room
A spare room gives you a defined area to plan around. Measure the room with existing furniture in place, then mark out the cabin footprint and door swing. Check whether there is space for assembly and future access to service points.
Consider how the room will be used when the sauna is operating. Avoid planning a layout that requires moving furniture every time you open the cabin door. The room still needs to satisfy the manufacturer’s environmental and ventilation requirements.
2. A Home Gym
A home gym can be a convenient location if your household already uses that space regularly. Keep the sauna access route separate from exercise equipment and storage. A cabin that fits against a wall may still interfere with the clearance needed around other equipment.
Check the supporting surface rather than assuming that existing gym mats are suitable beneath the cabin. Ask the supplier about the permitted floor arrangement and allow the specified access around the sauna.
3. A Basement
A sauna in a basement requires particular attention to delivery access and the condition of the room. Measure the stairwell, landing, ceiling height, and turning space for the largest components. Ask for package dimensions before arranging delivery.
Investigate dampness, water ingress, and ventilation before selecting the location. A basement should not be treated as ready for an indoor sauna simply because it has unused floor space. If site improvements are required, include them in your budget before ordering.
4. A Garage
A garage may offer more floor space, but check temperature variations, humidity, dust, and the model’s permitted operating environment. Protect the planned installation area from vehicle movements and keep access routes clear.
Do not assume that an indoor sauna becomes suitable for a partially exposed location because it is inside a garage. Confirm that the actual conditions meet the manufacturer’s requirements, and have any electrical preparation assessed before purchase.
5. A Bathroom
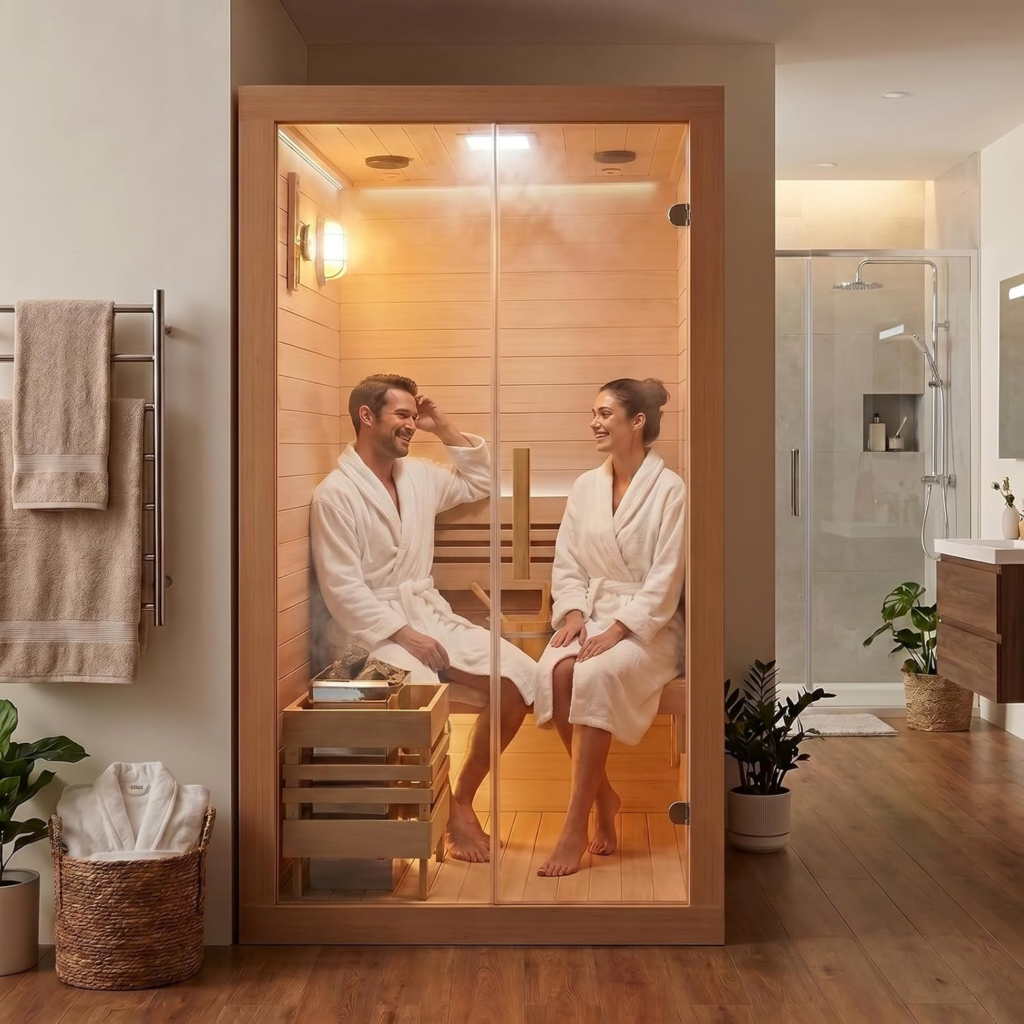
A bathroom may seem convenient, especially when a shower is nearby. However, proximity to water introduces additional placement and electrical considerations. Ask the manufacturer and a qualified electrician whether the proposed position is suitable.
Check the relationship between the cabin, shower or bath, ventilation, and door openings. Product photography is an illustration, not an installation drawing or confirmation that the same arrangement is suitable for your bathroom.
Planning Space for a 2 Person Sauna
A 2 person sauna can be an option for households that want shared seating, but capacity labels do not establish a universal footprint. Compare external dimensions, seating layout, and required clearances for the exact models on your shortlist.
Our 3000W two-person hemlock home sauna is a traditional heater-based model. Request its current dimension drawing, packing information, and electrical instructions when checking a proposed room. Do not apply installation assumptions from an infrared sauna to this model.
For a closer look at capacity planning, read our one-person vs two-person sauna space guide.
Check the Route Before You Commit to the Room
The cabin’s final location is only part of the decision. Trace the path from the delivery point to that location and compare it with the size and weight of the largest packages and components. Confirm who will carry them indoors and whether stairs require additional arrangements.
Ask how much access is needed during assembly. If an installer needs to work around the cabin, a tight recess may be unsuitable even when the finished unit appears to fit. Our home sauna installation guide covers delivery, helpers, tools, and service responsibilities.
How Room Choice Affects Your Budget
Compare suitable rooms by the work needed to prepare them. A location with easier delivery access may reduce handling complexity, while another may require floor preparation, moisture control, or electrical work. Request quotes for the actual site rather than choosing by cabin footprint alone.
For the costs to include, see our home sauna cost guide.
Frequently Asked Questions
Can I put a sauna upstairs?
Potentially, but confirm floor support, delivery access, assembly space, and electrical requirements first. Include the cabin, heater, accessories, and users when discussing loads with an appropriate professional. Do not assume suitability from the room dimensions alone.
Does an indoor sauna need a separate room?
Not necessarily. The deciding factors are the model’s requirements and the surrounding layout. A shared room must still provide suitable environmental conditions and clear access.
Can I put an indoor sauna outside later?
Only if the manufacturer approves that model and installation arrangement for outdoor use. Wooden construction alone does not establish outdoor suitability.
Find a Location Before Choosing Your Sauna
Shortlist two possible locations, measure both, and compare access, site preparation, and power requirements. Then match those details to the model you want.
Contact Majusaccessory with your destination, available room dimensions, and preferred capacity. We can discuss product options and the model information needed to plan your purchase, whether you are buying for your home or sourcing for resale.